In collaboration with Youtuber AramK, we bring you a series of Davinci Resolve 16 tutorials to help you get your video project off the ground.
In this DaVinci Resolve tutorial, AramK will be showing you how to work with render settings- both beginner and intermediate techniques. You will learn the must-needed basics of rendering to achieve that perfect result. The delivery page within DaVinci Resolve is where you will be working for this exercise.
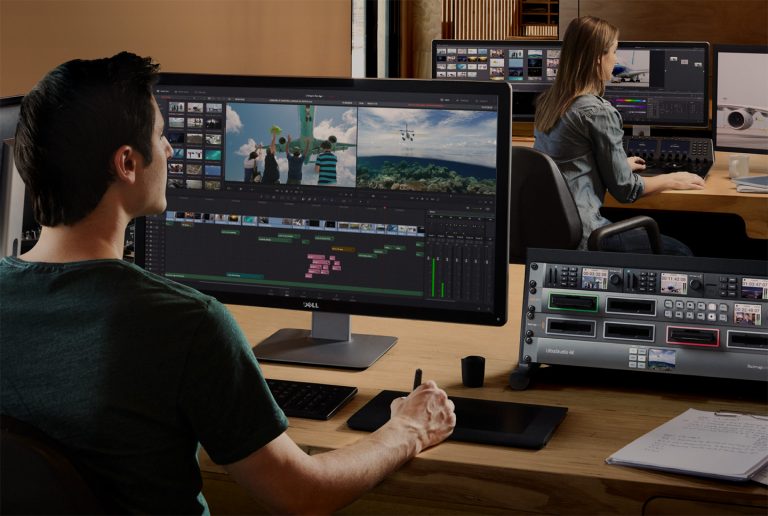
For this tutorial, a clip of a man inspecting the wing of an airplane is used. The film has already been color graded, so delivering this project is where we will start. First, decide a name for your file and also a location to save the rendered result to.
If you are working with an older computer that runs a little slow, rendering some heavy footage (4k and above) may cause your hard drive to fail. An SSD hard drive is your best bet for optimal performance and a smooth rendering process in DaVinci Resolve.
However, here are a few tips you should know and things you should do to ensure a successful video render in DaVinci Resolve. First, go to the file settings and scroll to the very bottom. You should see a setting called render speed. If your computer is struggling with processing all that data, change your speed to somewhere between 5-10 frames.
Now that you have your speed set, go back to video settings. Choose the format you want to render in. From the beginner to the pro, only a couple of those format choices are used the majority of the time: QuickTime in codec H.264 or H.265.
Pro tip: always render to a different hard drive. Never render your file to the same hard drive you are currently using. As mentioned earlier, it’s best to use SSD for a smooth process. For PC users, DNxHD is for HD resolution or GNX XR for a higher format. These are the most common formats (especially for YouTube video users).
Next, we move on to resolution settings. Always make sure the resolution in your DaVinci Resolve timeline is the same as what your render settings display.
Advanced settings are where many people make mistakes. In most cases, do not change your data levels. Leave it on auto unless your project requires it. For an average user or pro filmmaker, leaving it on auto will do just fine 99% of the time. If your video looks milky or dark, you probably checked the wrong data level setting.
AramK always recommends using optimized media and render cached images- particularly if you are working with a lot of effects, noise reduction, or color grading. However, while you are delivering your end product, do not turn those settings on so your final project remains consistent.
The audio settings in DaVinci Resolve are very straightforward. Generally, the Linear PCM codec is most common. Unless you are required to follow certain audio guidelines, these settings should be good to go.
As far as presets go, AramK does not recommend using them because- in his experience- the quality does not come out correctly.
If you have multiple clips in your DaVinci Resolve timeline, you can right-click on an individual clip to only render that one clip. Select your whole timeline to process everything.
Every time you make an adjustment in your timeline or in your settings, make sure to click “add to render queue” so DaVinci Resolve will update your existing queue and process everything properly.
Looking for a particular topic?
- Begin – 0:40
- Delivering the file – 1:00
- Steps for successful rendering – 2:00
- Video format – 2:48
- Resolution – 4:30
- Advanced settings – 5:10
- Audio – 7:28
- Presets – 7:57
- Add to queue – 9:44
Key Takeaways
The delivery page is where file rendering in DaVinci Resolve takes place.
Name your file accordingly and determine a location to save your file to. It is recommended to render your project to another drive you are not currently using- preferably an SSD.
If your computer is struggling with processing all that video data, change your render speed to somewhere between 5-10 frames.
Be careful with the advanced settings, and always leave your data levels on auto.
When you make any changes to your timeline or settings, always remember to click “add to render queue” so your file will be processed with your updated changes.
Resources
- Download the free version of DaVinci Resolve 16.
- Free Rawfilm stock footage shot on RED cinema cameras.
Thanks for reading/watching! We will see you soon with another killer DaVinci Resolve tutorial.